How to Create a Python Virtual Environment on Linux Mint
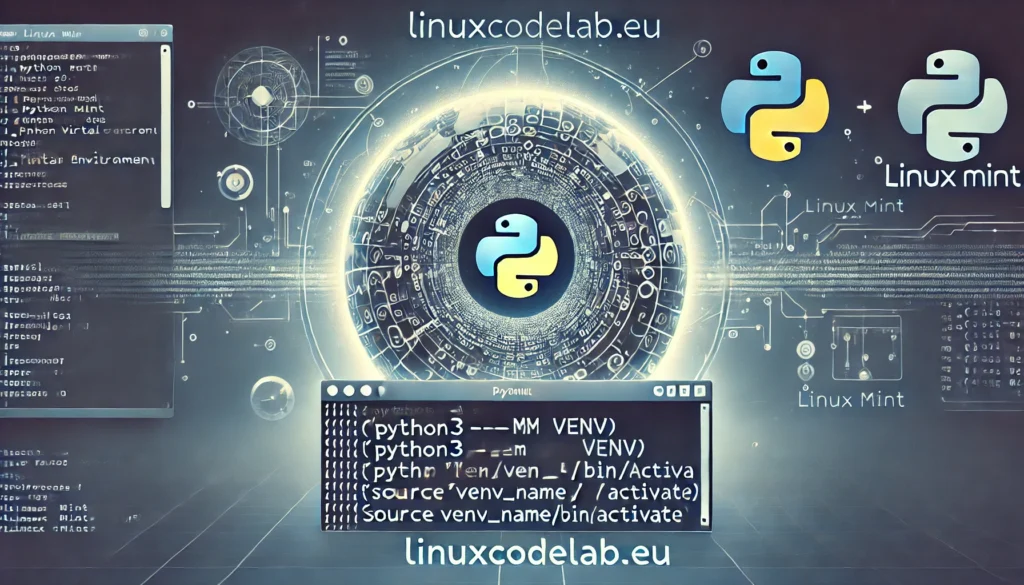
Python is an essential programming language used by developers worldwide. When working on multiple projects, managing dependencies for each project is crucial. Python virtual environments help you isolate your project’s dependencies from the system-wide Python installation. This is particularly useful on Linux Mint, where maintaining a clean environment is vital for system stability. This guide will walk you through creating a Python virtual environment on Linux Mint, step by step.
Why Use a Python Virtual Environment?
A Python virtual environment allows you to create a self-contained directory for a project. Within this directory, you can install specific versions of libraries without affecting other projects. This isolation prevents dependency conflicts and ensures your project works with the required packages. Additionally, virtual environments make it easier to deploy your applications, as they bundle the dependencies together.
Prerequisites
Before creating a virtual environment, ensure that Python is installed on your system. Linux Mint comes with Python pre-installed, but it’s a good idea to check the installed version. Open your terminal and type:
python3 --version This command will display the version of Python installed on your system. You should see an output like:
Python 3.x.x If Python is not installed, or you need a different version, you can install it using:
sudo apt update sudo apt install python3 Step 1: Install python3-venv
To create a virtual environment, you need the python3-venv package. This package provides the necessary tools to create virtual environments in Python. It might already be installed on Linux Mint, but you can ensure it is by running:
sudo apt install python3-venv This command installs the venv module, which is used to create virtual environments. The installation process is usually quick, depending on your internet connection and system speed.
Step 2: Choose a Project Directory
Next, choose a directory where you want to store your project. This directory will contain the virtual environment and your project’s files. For example, you could create a directory in your home folder:
mkdir ~/my_python_project cd ~/my_python_project Replace my_python_project with a name that makes sense for your project. The cd command changes the current directory to your newly created project folder.
Step 3: Create the Virtual Environment
With the python3-venv package installed and your project directory ready, you can create a virtual environment. Use the following command:
python3 -m venv venv_name Replace venv_name with a name for your virtual environment. A common practice is to name it simply venv. This command creates a new directory named venv_name in your project folder, containing the virtual environment files.
Step 4: Activate the Virtual Environment
After creating the virtual environment, you need to activate it. Activation sets up the environment to use the correct Python interpreter and paths. To activate the virtual environment, run:
source venv_name/bin/activate Again, replace venv_name with the name of your virtual environment. After running this command, your terminal prompt will change, indicating that the virtual environment is active. It will look something like this:
(venv_name) user@machine:~/my_python_project$ The prefix (venv_name) confirms that your virtual environment is active. Any Python commands you run will now use the isolated environment.
Step 5: Install Packages in the Virtual Environment
With the virtual environment activated, you can install packages specific to your project. Use pip, the Python package installer, to add libraries. For example, to install the popular requests library, run:
pip install requests The package will be installed in the venv_name environment without affecting the global Python installation. To check the installed packages, use:
pip list This command will list all packages installed in the current virtual environment, along with their versions.
Step 6: Deactivate the Virtual Environment
When you’re done working on your project, deactivate the virtual environment. Deactivation returns your terminal to the system-wide Python environment. To deactivate the environment, simply type:
deactivate Your terminal prompt will return to its usual state, and you can continue working with the global Python interpreter.
Step 7: Reactivate the Virtual Environment (When Needed)
Whenever you return to your project, you’ll need to reactivate the virtual environment to continue working with the same dependencies. Navigate to your project directory and activate the environment again using:
cd ~/my_python_project source venv_name/bin/activate This ensures you’re working within the correct environment, with all your project-specific libraries.
Step 8: Remove the Virtual Environment (If Needed)
If you no longer need the virtual environment, you can delete it. This will not affect your project files, only the environment. First, deactivate the environment if it’s active:
deactivate Then, remove the virtual environment directory:
rm -rf venv_name This command deletes the venv_name directory and all its contents. Be careful with the rm -rf command, as it permanently deletes files without confirmation.
Troubleshooting Common Issues
Issue 1: command not found Error When Activating
If you see a command not found error when trying to activate the environment, ensure you’re using the correct path. Double-check the venv_name directory exists and contains the bin/activate script.
Issue 2: pip Command Not Working
If pip isn’t recognized after activating the environment, ensure python3-venv was installed correctly. Try reinstalling it using:
sudo apt install --reinstall python3-venv Issue 3: Packages Not Installing
If packages fail to install, it might be due to missing development headers. Install them using:
sudo apt install python3-dev This command installs the necessary headers to compile Python packages.
Conclusion
Creating a Python virtual environment on Linux Mint is straightforward and beneficial for managing project dependencies. By isolating your project’s environment, you ensure that each project remains consistent and conflict-free. This guide has walked you through the entire process, from setting up the environment to troubleshooting common issues. With these steps, you can now confidently manage Python projects on Linux Mint.
Finally, always remember to deactivate your virtual environment when not in use and keep your dependencies up to date. Happy coding!
Thank you for reading the article! If you found the information useful, you can donate using the buttons below:
Donate ☕️ with PayPalDonate 💳 with Revolut

