
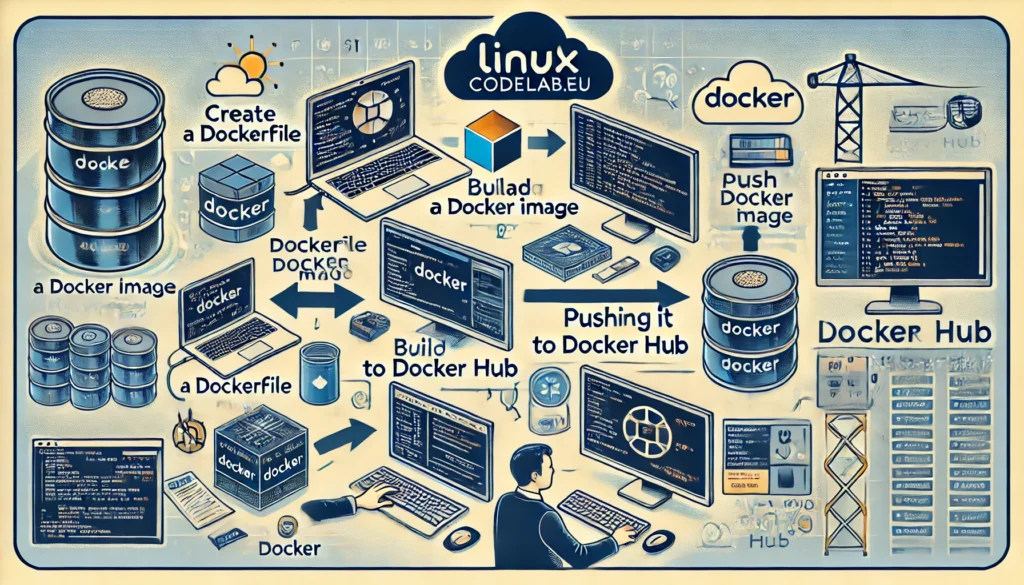
How to Create a Docker Image and Upload it to Docker Hub
Docker is a platform that allows developers to automate the deployment of applications inside lightweight containers. Containers are isolated environments that bundle together the application code and its dependencies. This guarantees that the application runs consistently across different environments.
One of Docker’s core functionalities is the ability to create Docker images. A Docker image is a lightweight, standalone, and executable package that includes everything needed to run a piece of software. This includes the code, runtime, libraries, and system tools. Once you’ve created a Docker image, you can upload it to Docker Hub, a cloud-based repository where Docker users can share and download container images.
This article provides a step-by-step guide on how to create a Docker image and upload it to Docker Hub. By following this guide, you will learn how to containerize an application and share it with others.
Prerequisites
Before diving into the process, ensure you have the following prerequisites:
- Docker Installed: Docker should be installed on your machine. You can download and install Docker from the official Docker website.
- Docker Hub Account: You need an account on Docker Hub. If you don’t have one, you can sign up at Docker Hub.
- Basic Understanding of Docker: Familiarity with basic Docker commands and concepts will be helpful.
Step 1: Set Up Your Project
Start by setting up a simple project that you want to containerize. For this guide, we’ll use a basic Python application as an example.
- Create a Directory: Create a directory for your project.bashCopy code
mkdir my-docker-app cd my-docker-app - Create a Simple Python Script: Inside this directory, create a simple Python script.bashCopy code
echo 'print("Hello, Docker!")' > app.py - Create a Requirements File: If your Python application has dependencies, list them in a
requirements.txtfile. For this simple example, we’ll assume there are no external dependencies.
Step 2: Write a Dockerfile
A Dockerfile is a text document that contains instructions on how to assemble the Docker image.
- Create a Dockerfile: Inside your project directory, create a file named
Dockerfilewithout any file extension.bashCopy codetouch Dockerfile - Edit the Dockerfile: Open the Dockerfile in a text editor and define the steps to build your Docker image.DockerfileCopy code
# Use an official Python runtime as the base image FROM python:3.8-slim # Set the working directory inside the container WORKDIR /app # Copy the current directory contents into the container at /app COPY . /app # Run the application CMD ["python", "app.py"]Let’s break down each instruction:FROM python:3.8-slim: This line specifies the base image to use for the Docker image. Here, we are using a lightweight version of Python 3.8.WORKDIR /app: This line sets the working directory inside the container to/app.COPY . /app: This command copies the contents of the current directory on your machine to the/appdirectory inside the container.CMD ["python", "app.py"]: This specifies the command to run when the container starts, which is to execute the Python script.
Step 3: Build the Docker Image
Now that the Dockerfile is ready, you can build the Docker image.
- Build the Image: Use the
docker buildcommand to create the image.bashCopy codedocker build -t my-docker-app .-t my-docker-app: This tags the image with the namemy-docker-app..: This specifies the build context, which in this case is the current directory.
- Verify the Image: Once the build is complete, you can verify that the image was created successfully.bashCopy code
docker imagesThis command lists all the Docker images on your machine. You should seemy-docker-applisted.
Step 4: Test the Docker Image
Before uploading the image to Docker Hub, it’s important to test it to ensure it works correctly.
- Run a Container: Use the
docker runcommand to create and run a container from the image.bashCopy codedocker run my-docker-appIf everything is set up correctly, you should see the output “Hello, Docker!” in your terminal. - Stop and Remove Containers: You can stop and remove containers after testing.bashCopy code
docker ps -a docker stop <container_id> docker rm <container_id>
Step 5: Tag the Docker Image
To upload the Docker image to Docker Hub, you need to tag it with a name that includes your Docker Hub username.
- Tag the Image: Use the
docker tagcommand to tag your image.bashCopy codedocker tag my-docker-app <your-dockerhub-username>/my-docker-app:v1.0Replace<your-dockerhub-username>with your actual Docker Hub username.my-docker-app: This is the name of the local image.<your-dockerhub-username>/my-docker-app:v1.0: This is the new tag, which includes your Docker Hub username, image name, and version number.
Step 6: Log In to Docker Hub
Before you can push the image to Docker Hub, you need to log in.
- Log In: Use the
docker logincommand to log in to your Docker Hub account.bashCopy codedocker loginYou will be prompted to enter your Docker Hub username and password.
Step 7: Push the Docker Image to Docker Hub
With the image tagged and you logged in to Docker Hub, you can now push the image to Docker Hub.
- Push the Image: Use the
docker pushcommand to upload the image.bashCopy codedocker push <your-dockerhub-username>/my-docker-app:v1.0Docker will upload the image to your Docker Hub repository. This process may take some time depending on the size of your image and your internet speed. - Verify the Upload: After the push completes, you can verify the upload by visiting your Docker Hub account. Your repository should now contain the new image.
Step 8: Pull the Docker Image from Docker Hub (Optional)
To ensure the image was uploaded correctly, you can pull it from Docker Hub and run it on any machine.
- Pull the Image: Use the
docker pullcommand to download the image from Docker Hub.bashCopy codedocker pull <your-dockerhub-username>/my-docker-app:v1.0 - Run the Image: Once pulled, you can run the image just like you did earlier.bashCopy code
docker run <your-dockerhub-username>/my-docker-app:v1.0
Best Practices for Creating Docker Images
While the above steps cover the basics, following best practices ensures your Docker images are efficient and secure.
- Use Small Base Images: Whenever possible, use lightweight base images like
alpineorslimversions of official images to minimize the image size. - Minimize Layers: Each command in a Dockerfile creates a new layer in the image. Try to minimize the number of layers by combining commands where it makes sense.
- Avoid Hardcoding Secrets: Do not hardcode sensitive information like passwords or API keys in your Dockerfile. Use environment variables or secret management tools.
- Regularly Update Images: Keep your Docker images up-to-date to avoid vulnerabilities. Regularly rebuild and update your base images and dependencies.
- Use Multi-Stage Builds: If your build process is complex, use multi-stage builds to keep the final image small. This helps in separating the build environment from the runtime environment.
- Add Metadata: Include metadata in your Dockerfile using labels to make your images easier to understand and manage.
- Leverage Dockerignore: Use a
.dockerignorefile to exclude unnecessary files and directories from your build context. This reduces the build time and image size.
Conclusion
Creating and uploading a Docker image to Docker Hub is a fundamental skill for modern software development. It allows you to encapsulate your application and its dependencies into a portable, reproducible unit. This guide has walked you through the process from setting up a simple application to uploading the Docker image to Docker Hub.
By following the steps outlined in this article, you can easily create your own Docker images and share them with the community or deploy them across different environments. Remember to follow best practices to ensure your Docker images are efficient, secure, and maintainable.
Whether you are a developer looking to streamline your deployment process or a DevOps engineer managing application environments, mastering Docker and Docker Hub will significantly enhance your workflow.

Thank you for reading the article! If you found the information useful, you can donate using the buttons below:
Donate ☕️ with PayPalDonate 💳 with Revolut


