
Creating partitions and file systems in Linux
In the realm of Linux system administration, one of the foundational skills is managing disk storage, which involves creating and managing partitions and file systems. This process is crucial for organizing data, optimizing system performance, and ensuring data integrity. This article will guide you through the process of creating partitions and file systems in Linux, explaining each step in detail.
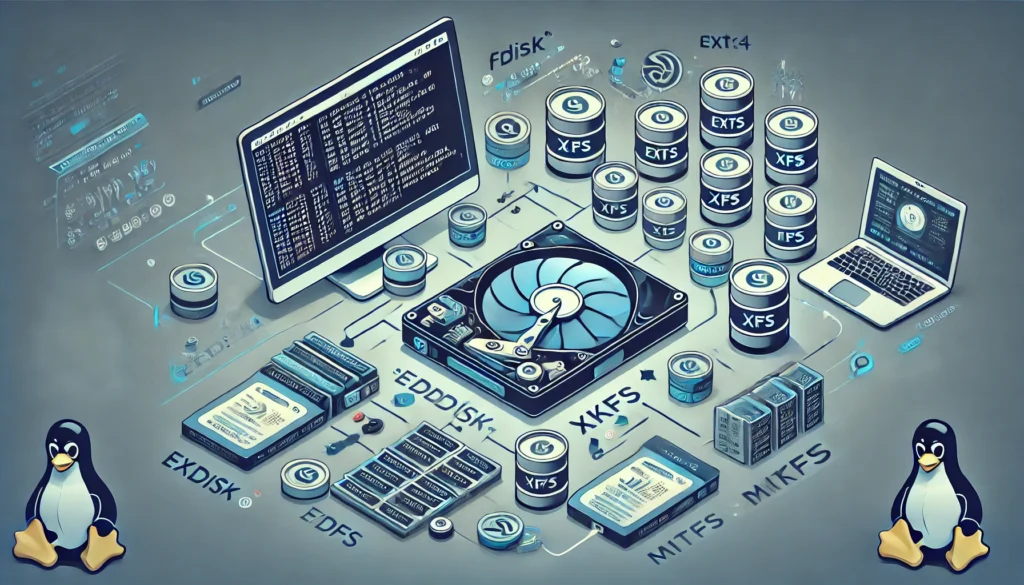
Understanding Partitions and File Systems
Before diving into the technical steps, it’s essential to understand what partitions and file systems are.
Partitions are subdivisions of a physical hard disk. They allow you to segment the disk into separate sections, each of which can function as an independent storage unit. This segmentation can help manage data more efficiently, separating system files from user data or isolating different operating systems.
File Systems are methods and data structures that the operating system uses to manage files on a partition. They determine how data is stored, retrieved, and managed. Common file systems in Linux include ext4, XFS, and Btrfs.
Step 1: Preparing the Disk
Checking Existing Partitions
Before creating new partitions, you need to check the existing partitions on your disk. You can do this using the fdisk or lsblk command:
sudo fdisk -l
or
lsblk
These commands list all disk partitions and their details. You can identify the disk you want to partition by its name (e.g., /dev/sda).
Backing Up Data
If the disk contains existing data, ensure that you back it up. Partitioning and formatting a disk can erase all data on it.
Step 2: Creating Partitions
Using fdisk
fdisk is a popular tool for creating and managing disk partitions. To start partitioning a disk:
- Open
fdisk:
sudo fdisk /dev/sda
- Replace
/dev/sdawith the appropriate disk identifier. - Command Interface:Once inside
fdisk, you’ll be presented with a command interface where you can type various commands to manage partitions.- Type
nto create a new partition. - Choose between a primary (
p) or extended (e) partition.
- Type
- Specify Partition Size:After selecting the partition type, you’ll be prompted to specify the partition size. You can use +1G to create a 1GB partition or simply specify the number of sectors.
- Write Changes:After creating the partitions, type
wto write the changes to the disk.
Using parted
parted is another tool that offers more advanced partitioning capabilities, especially useful for larger disks and GPT partitioning.
- Start
parted:
sudo parted /dev/sda
2. Create a Partition:
- mklabel: Defines the partition table type (e.g., GPT or MBR).
mklabel gpt
mkpart: Creates a new partition. You’ll need to specify the type (primary, logical), the file system type, and the size.
mkpart primary ext4 1MiB 100GiB
- Check Partition Table:Use the
printcommand to review the partition table and ensure everything is correct. - Exit:Once done, type
quitto exitparted.
Step 3: Creating File Systems
Choosing the Right File System
Before creating a file system, decide which type suits your needs. Here’s a brief overview of common Linux file systems:
- ext4: The most widely used file system in Linux, known for its reliability and performance.
- XFS: A high-performance file system, particularly useful for handling large files.
- Btrfs: A modern file system with advanced features like snapshots and self-healing.
Formatting the Partition
Once you’ve decided on the file system, you can format the partition using the mkfs command.
- ext4 File System:
sudo mkfs.ext4 /dev/sda1
- XFS File System:
sudo mkfs.xfs /dev/sda1
- Btrfs File System:
sudo mkfs.btrfs /dev/sda1
Replace /dev/sda1 with the correct partition identifier.
Step 4: Mounting the File System
After creating the file system, you need to mount it so that the system can access the data stored on it.
- Create a Mount Point:First, create a directory that will serve as the mount point:
sudo mkdir /mnt/mydata
2. Mount the File System:
Use the mount command to mount the partition:
sudo mount /dev/sda1 /mnt/mydata
3. Verify the Mount:You can verify that the partition is mounted using the df -h command, which lists all mounted file systems.
Step 5: Configuring Automatic Mounting at Boot
To ensure the partition mounts automatically at boot, you need to edit the /etc/fstab file.
Get the UUID:Use the blkid command to get the UUID of the partition:
sudo blkid /dev/sda1
Edit /etc/fstab:
Open /etc/fstab with a text editor:
sudo nano /etc/fstab
Add the Entry:
Add a new line with the partition’s UUID, mount point, file system type, and options:
UUID=your-uuid /mnt/mydata ext4 defaults 0 2
Test the Configuration:
You can test the configuration by unmounting and remounting the partition:
sudo umount /mnt/mydata
sudo mount -a
If the partition mounts without errors, the configuration is correct.
Step 6: Managing and Resizing Partitions
Resizing Partitions
There might be times when you need to resize a partition due to changing storage requirements. This can be done using tools like gparted for a graphical interface or parted for command-line operations.
- Unmount the Partition:Before resizing, ensure the partition is unmounted:
sudo umount /dev/sda1
2. Resize with gparted:
If you’re using gparted, open the tool and select the partition to resize. Drag the edges of the partition to adjust its size.
3. Resize with parted:
Use the resizepart command in parted:
sudo parted /dev/sda resizepart 1 50GiB
Checking and Repairing File Systems
Regular checks and repairs of file systems can prevent data loss. You can use fsck (file system check) to inspect and repair file systems.
- Run
fsck:
Ensure the partition is unmounted before running fsck:
sudo fsck /dev/sda1
2. Automated Repairs:
Use the -y option to allow fsck to automatically fix errors:
sudo fsck -y /dev/sda1
Conclusion
Creating and managing partitions and file systems in Linux is a fundamental skill that requires careful attention to detail. From understanding the basics of partitions and file systems to using tools like fdisk, parted, and mkfs, each step plays a critical role in ensuring your system’s storage is organized, reliable, and efficient.
By following the steps outlined in this guide, you can confidently partition your disks, create robust file systems, and ensure that your Linux system runs smoothly. Whether you’re setting up a new server, optimizing storage, or experimenting with different file systems, these skills will serve you well in the diverse world of Linux system administration.

Thank you for reading the article! If you found the information useful, you can donate using the buttons below:
Donate ☕️ with PayPalDonate 💳 with Revolut


