How to create a multipurpose USB flash drive using Ventoy
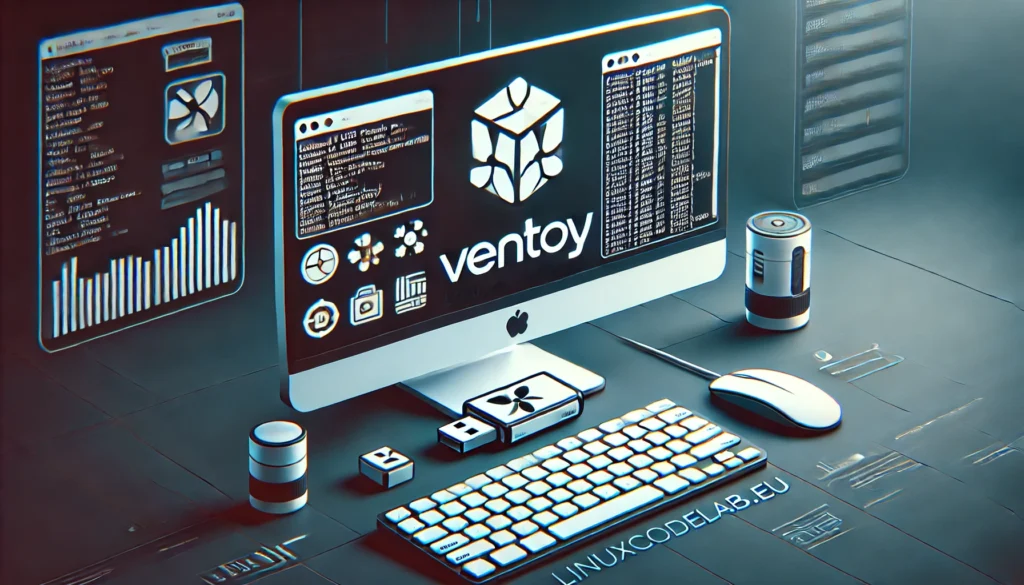
In today’s world, having a multipurpose USB flash drive is incredibly useful. Whether you’re installing operating systems, troubleshooting, or carrying multiple bootable tools, a well-organized USB can save a lot of time. One of the best tools for this purpose is Ventoy. This open-source software allows you to create a USB drive capable of booting multiple ISO files without the need for reformatting.
In this article, we will guide you through the process of creating a multipurpose USB flash drive using Ventoy, with clear and easy-to-understand steps. Let’s get started!
What is Ventoy?
Ventoy is a free and open-source tool designed to make USB flash drives bootable. Unlike traditional methods that require reformatting the USB drive for each new ISO, Ventoy allows you to simply copy and paste your ISO files onto the drive. It automatically manages them, giving you a menu at boot that lets you select which ISO to load. This makes it ideal for carrying multiple operating systems, rescue tools, or even antivirus boot environments on a single USB stick.
Benefits of using Ventoy:
- No need to reformat the drive for each ISO.
- Supports hundreds of different ISO formats.
- Allows booting from multiple operating systems on one USB.
- Simple and easy to use, with minimal setup.
- Open-source and frequently updated.
Step-by-Step Guide to Creating a Multipurpose USB Flash Drive with Ventoy
1. Download Ventoy
The first step is downloading the Ventoy software. Visit the official Ventoy website to find the latest version.
- Download the appropriate version for your operating system (Windows or Linux).
- Extract the downloaded ZIP file to a folder on your computer.
2. Prepare Your USB Flash Drive
Ensure you have a USB flash drive that is at least 8GB in size. Ideally, the more space you have, the more ISOs you can store. Note that all data on the USB will be erased during this process.
- Back up any important files on the USB drive.
- Connect your USB drive to the computer.
3. Run Ventoy Installation
Once your USB is ready, it’s time to install Ventoy onto the USB drive. Here’s how:
- Open the folder where you extracted Ventoy.
- For Windows users, open the Ventoy2Disk.exe file.
- Select your connected USB drive from the list of devices.
Important: Double-check that you have selected the correct drive, as all data on the selected drive will be erased.
4. Install Ventoy on the USB Drive
After selecting the correct USB drive, click the Install button. You will see a warning that all data will be erased.
- Confirm the installation by clicking Yes.
- Wait for the installation process to complete.
Once the process is finished, you will get a message indicating that Ventoy has been successfully installed on your USB drive.
5. Copy ISO Files to Your USB Drive
Now that Ventoy is installed on your USB drive, the next step is to add the ISO files. This is where Ventoy shines, as you can add multiple ISOs without needing to reformat or use additional software.
- Download the ISO files for the operating systems or tools you want to boot from (e.g., Windows 10, Linux distributions, rescue tools, etc.).
- Open your USB drive (now containing the Ventoy bootloader) in File Explorer or Finder.
- Drag and drop your ISO files directly into the root directory of the USB drive.
You can add as many ISO files as your USB drive can hold. Ventoy will automatically detect them when you boot from the USB.
6. Boot from Your Ventoy USB Drive
After copying your ISO files, your USB drive is ready to use. The next step is to boot from the USB and test your setup.
- Restart your computer and enter the BIOS/UEFI settings (usually by pressing a key like F2, F12, DEL, or ESC during startup).
- In the BIOS settings, set your USB drive as the first boot device.
- Save the changes and exit the BIOS.
Your computer should now boot from the USB drive, and you will be greeted by the Ventoy menu, which lists all the ISO files you copied.
7. Choose an ISO to Boot
In the Ventoy menu, you will see a list of all the ISO files on your USB drive. Simply use the arrow keys to select the ISO you want to boot and press Enter.
Ventoy will then load the selected ISO, allowing you to install an operating system, run a live session, or use a rescue tool. You can repeat this process and boot different ISOs whenever needed.
Advanced Features of Ventoy
Ventoy isn’t just a simple boot manager. It comes packed with additional features that make it even more versatile. Let’s explore some of these features:
1. Persistence Support
If you’re using a live Linux distribution like Ubuntu or Kali, you might want to save changes across reboots. Ventoy supports persistence, allowing you to save data and settings on the live USB.
To enable persistence, you’ll need to create a persistence file on the USB and associate it with the corresponding ISO. Detailed instructions are available on the Ventoy website.
2. UEFI and Legacy BIOS Support
Ventoy supports both UEFI and Legacy BIOS boot modes. This ensures compatibility with a wide range of systems, both old and new.
3. File Size Limit
Ventoy supports large ISO files. If you need to boot from an ISO file larger than 4GB, you can format the USB drive as exFAT instead of FAT32. This removes the 4GB file size limitation, allowing you to store and boot larger files.
Conclusion
Creating a multipurpose USB flash drive using Ventoy is an efficient way to manage multiple ISO files without needing to reformat your USB for each new system. Its simple installation process, easy-to-use interface, and advanced features make it a must-have tool for IT professionals, system administrators, and tech enthusiasts.
By following the steps in this guide, you can quickly set up your own Ventoy-powered USB drive, packed with various operating systems and tools that you can boot from any compatible computer.
So, grab your USB drive, install Ventoy, and say goodbye to constantly reformatting your USB every time you want to try a new ISO!
Thank you for reading the article! If you found the information useful, you can donate using the buttons below:
Donate ☕️ with PayPalDonate 💳 with Revolut

