
How to Install Multiple Software Applications on Ubuntu Using a Script
nstalling multiple software applications on a new Ubuntu system can be tedious. Manually installing each application one by one takes time, especially if you have a long list of programs. Fortunately, you can automate this process by creating a simple script. This method is efficient, saves time, and ensures that your favorite applications are always installed in a consistent way.
This article will guide you step-by-step on how to install multiple software applications on Ubuntu using a script. By the end of this guide, you’ll be able to create your own installation script, customize it, and run it to install all your essential software in one go.
Why Use a Script for Software Installation?
Using a script to install multiple software applications offers several advantages:
- Efficiency: Automates the installation process, saving time and effort.
- Consistency: Ensures the same software and versions are installed each time.
- Reusability: You can use the same script on multiple systems.
- Customization: Easily modify the script to add or remove software.
Understanding Shell Scripts
A shell script is a text file containing a sequence of commands that the shell (the command-line interface) executes. In Ubuntu, the default shell is Bash (Bourne Again SHell), and most scripts are written in this language.
Shell scripts typically start with a “shebang” (#!) followed by the path to the interpreter. For Bash scripts, this is usually #!/bin/bash. The script then includes a list of commands, similar to what you would type into the terminal.
Preparing Your System
Before creating a script, make sure your Ubuntu system is updated. Open the terminal and run:
sudo apt update && sudo apt upgrade -y
This command updates the package lists and upgrades all installed packages to their latest versions.
Creating the Installation Script
- Open a Text Editor: You can use any text editor, but for simplicity, let’s use
nano:
nano install-software.sh
This command opens a new file called install-software.sh in the Nano text editor.
2. Add the Shebang: At the top of the file, add the shebang line:
#!/bin/bash
This line tells the system to use the Bash shell to interpret the script.
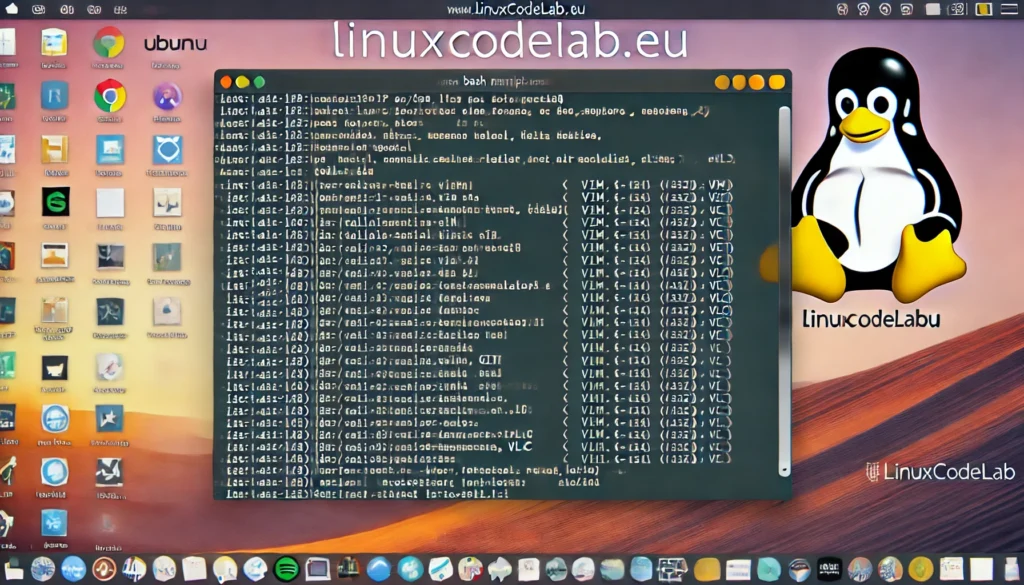
3. List the Software to Install: After the shebang, add the commands to install your desired software. For example:
sudo apt update

sudo apt install -y vim
sudo apt install -y git
sudo apt install -y curl
sudo apt install -y gnome-tweaks
sudo apt install -y vlc
- In this example, the script installs Vim, Git, Curl, GNOME Tweaks, and VLC Media Player. The
-yflag automatically confirms the installation, avoiding the need for manual input. - Save and Exit: Save the script by pressing
CTRL + O, then pressENTER. Exit Nano by pressingCTRL + X.
Making the Script Executable
Before running your script, you need to make it executable. This step ensures that the system recognizes it as a program that can be run.
- Make the Script Executable:
chmod +x install-software.sh
- This command changes the file permissions, making the script executable.
Running the Script
Now that your script is ready and executable, you can run it to install all the specified software.
- Run the Script:
./install-software.sh
- This command executes your script, running all the commands in sequence. The script will automatically install each application, updating the package list first if needed.
Adding PPA Repositories to the Script
Some software may not be available in the default Ubuntu repositories. In such cases, you need to add a Personal Package Archive (PPA) before installing the software.
- Adding a PPA:To add a PPA, use the
add-apt-repositorycommand. For example, to install the latest version of Node.js, you would add the following to your script:
sudo add-apt-repository -y ppa:chris-lea/node.js
sudo apt update
sudo apt install -y nodejs
- This section adds the PPA for Node.js, updates the package list, and installs Node.js.
- Combining Multiple PPAs:You can add multiple PPAs to your script. Just make sure each PPA is followed by
sudo apt updatebefore attempting to install software from that PPA.
Installing Software from DEB Files
Some applications are distributed as .deb files rather than being available through a PPA or the default repository. You can download and install these directly in your script.
- Download and Install a DEB File:Suppose you want to install Google Chrome. You would add the following to your script:
wget https://dl.google.com/linux/direct/google-chrome-stable_current_amd64.deb
sudo dpkg -i google-chrome-stable_current_amd64.deb
sudo apt-get install -f
This command downloads the DEB file, installs it using dpkg, and then resolves any dependencies with apt-get install -f.
2. Cleaning Up:
After installing, you can clean up by deleting the downloaded DEB file:
rm google-chrome-stable_current_amd64.deb
Automating Flatpak and Snap Installations
Some software is available via Flatpak or Snap. You can include these in your script as well.
- Flatpak Installation:Add Flatpak support and install a Flatpak application:
sudo apt install -y flatpak
sudo flatpak install -y flathub org.mozilla.firefox
This example installs Firefox using Flatpak.
Snap Installation:
Install an application from the Snap store:
sudo snap install spotify
- This installs Spotify using Snap.
Error Handling and Logging
Sometimes, things might go wrong during the installation. It’s helpful to include basic error handling and logging in your script.
- Redirecting Output to a Log File:You can log all output to a file for later review:
./install-software.sh > install-log.txt 2>&1
This command runs your script and saves both standard output and errors to install-log.txt.
Using Exit Codes:
To check if a command was successful, use an exit code:
sudo apt install -y vim
if [ $? -ne 0 ]; then
    echo "Failed to install Vim" >> install-log.txt
fi
- This section checks if Vim was installed successfully and logs a message if it failed.
Finalizing and Reusing Your Script
After you’ve created your script, tested it, and confirmed that it works, you can reuse it anytime you set up a new Ubuntu system. You can also share it with others who might benefit from the same setup.
- Backing Up Your Script:Store your script in a safe place, such as a GitHub repository, so you can easily access it later.
- Customizing for Different Systems:If you work with different Ubuntu setups, you might want to create different versions of your script. For example, you could have a script for a development environment and another for a personal setup.
Conclusion
Creating a script to install multiple software applications on Ubuntu is a powerful way to streamline your workflow. It saves time, ensures consistency across systems, and can be easily customized to suit your needs. By following the steps in this guide, you’ve learned how to create, customize, and run a script that installs all your essential software with just a few commands.
Whether you’re setting up a new system or maintaining an existing one, using a script to automate software installations is a valuable skill that enhances your efficiency and productivity.
Now, you’ve learned to create a time-saving installation script, making your Ubuntu experience smoother and more enjoyable.

Thank you for reading the article! If you found the information useful, you can donate using the buttons below:
Donate ☕️ with PayPalDonate 💳 with Revolut


