How to Install Steam on Linux Mint: A Step-by-Step Guide
Linux Mint is a popular and user-friendly Linux distribution. It’s based on Ubuntu and comes with several pre-installed tools that make it easy to use. If you’re a gamer, you might want to install Steam on your Linux Mint system. Steam is the most popular platform for buying, downloading, and managing games. Although it primarily supports Windows, it also has a growing library of Linux-compatible games.
This guide will walk you through the process of installing Steam on Linux Mint. It’s a simple procedure, but if you’re new to Linux, don’t worry. I’ll break it down into easy steps that even beginners can follow.
Prerequisites
Before we begin, make sure your system meets the following requirements:
- Linux Mint Version: Make sure you’re using Linux Mint 19 or newer.
- Internet Connection: A stable internet connection is necessary for downloading packages.
- User Privileges: You need to have administrative (sudo) privileges on your system.
Step 1: Update Your System
Before installing any software, it’s good practice to update your system. This ensures that all the packages and repositories are up to date. Open the terminal by pressing Ctrl + Alt + T or by searching for “Terminal” in the applications menu.
In the terminal, type the following command and press Enter:
sudo apt update && sudo apt upgrade -y
sudo apt update: This command updates the list of available packages.
sudo apt upgrade -y: This command upgrades all the installed packages to their latest versions.
The -y flag automatically answers “yes” to any prompts, speeding up the process.
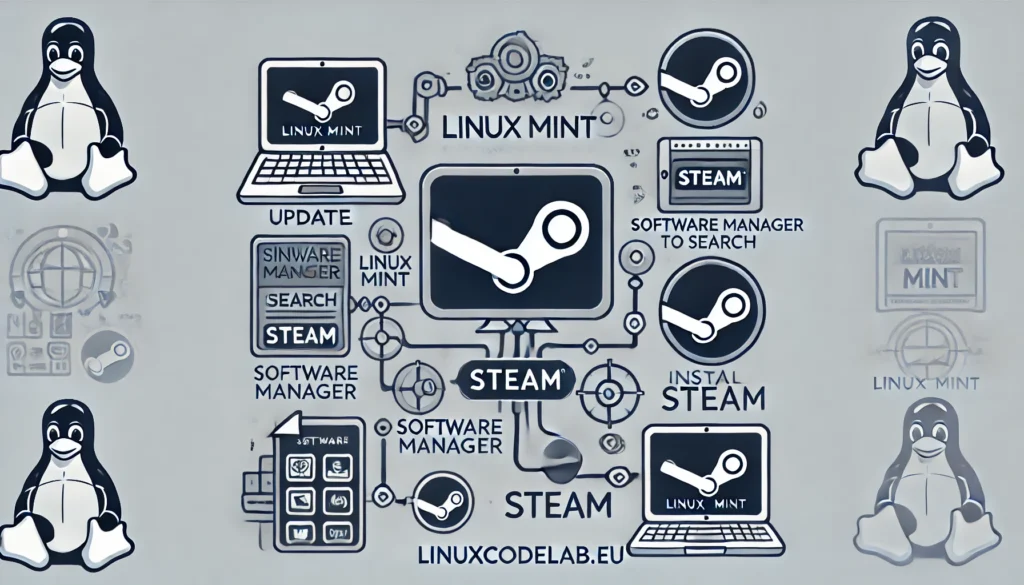
Step 2: Install Steam via the Software Manager
Linux Mint comes with a Software Manager that simplifies the installation of software. Steam is available in this manager, making the installation process straightforward.
- Open Software Manager: Click on the Menu button (bottom-left corner) and search for “Software Manager.” Click on it to open.
- Search for Steam: In the Software Manager, type “Steam” into the search bar and hit Enter.
- Select Steam: Click on the Steam entry that appears in the search results.
- Install Steam: Click the “Install” button to begin the installation. You may be asked to enter your password to authenticate the process.
The Software Manager will download and install Steam along with any required dependencies. This might take a few minutes, depending on your internet speed.
Step 3: Install Steam via Terminal (Alternative Method)
If you prefer using the terminal or if the Software Manager method doesn’t work for some reason, you can install Steam directly via the terminal.
Enable Multiverse Repository: Steam is available in the “Multiverse” repository. You need to make sure this repository is enabled. Run the following command:
sudo add-apt-repository multiverse
Install Steam: Now, install Steam using the following command:
sudo apt install steam -y
This command installs the Steam package and any dependencies it requires.
Step 4: Launch and Configure Steam
Once Steam is installed, you can launch it either through the terminal or from the applications menu.
- Launch Steam:
- From the terminal, type
steamand press Enter. - Alternatively, click on the Menu button, search for “Steam,” and click on the Steam icon.
- From the terminal, type
- First-Time Setup: When you launch Steam for the first time, it will update itself. This update might take a few minutes, so be patient.
- Log in or Create an Account: After the update, you’ll be prompted to log in to your Steam account. If you don’t have an account, click on “Create a new account” and follow the prompts to set one up.
Step 5: Enable Steam Play for More Games
Steam Play is a feature that allows you to play many Windows-only games on Linux using a compatibility layer called Proton. To enable Steam Play:
- Open Steam Settings: Click on “Steam” in the top-left corner of the Steam window and select “Settings.”
- Go to Steam Play: In the Settings menu, select “Steam Play” from the sidebar.
- Enable Steam Play: Check the box that says “Enable Steam Play for supported titles.” You can also enable it for all titles if you want to try running unsupported games. Just check the box labeled “Enable Steam Play for all other titles.”
- Choose a Proton Version: You can select a version of Proton from the dropdown menu. The default option is usually fine.
Click “OK” to save your settings. Now, you’ll be able to install and play a larger library of games.
Step 6: Troubleshooting Common Issues
While the installation process is usually smooth, you might encounter some issues. Here are a few common problems and how to fix them:
- Steam Doesn’t Launch: If Steam doesn’t launch, try running it from the terminal to see any error messages. This can give you clues on how to fix the issue.
- Missing Dependencies: Sometimes, Steam might need additional packages to run properly. You can install these by running
sudo apt-get install -fto fix broken dependencies. - Graphics Driver Issues: Ensure your graphics drivers are up to date, especially if you’re using proprietary drivers like NVIDIA. Use the “Driver Manager” in Linux Mint to update them.
Step 7: Enjoy Your Games!
With Steam installed and configured, you’re ready to start gaming on Linux Mint. Browse the Steam library, download your favorite games, and enjoy the world of gaming on Linux.
Linux gaming has come a long way, and with Steam’s Proton, many Windows games are now playable on Linux. Although not every game will work perfectly, the experience continues to improve over time.
Conclusion
Installing Steam on Linux Mint is a straightforward process that doesn’t require advanced technical knowledge. Whether you use the Software Manager or the terminal, you can have Steam up and running in just a few steps. By enabling Steam Play, you can expand your game library even further, making Linux Mint a viable platform for gaming. Follow the steps outlined in this guide, and you’ll be gaming on Linux in no time!
Thank you for reading the article! If you found the information useful, you can donate using the buttons below:
Donate ☕️ with PayPalDonate 💳 with Revolut

