
How to Install Pi-hole on Ubuntu Server
Pi-hole is a popular network-wide ad blocker that acts as a DNS sinkhole. It filters out ads, tracking, and other unwanted content at the network level. Pi-hole is often used on home networks, but it can also be deployed in small business environments. This article will guide you through installing Pi-hole on an Ubuntu server, making it easy to manage and block unwanted content on all connected devices.
What You Need to Get Started
Before you begin the installation process, make sure you have the following:
- An Ubuntu Server: A machine running Ubuntu 20.04 or later.
- Root Access: Administrative privileges to install software and configure the system.
- Static IP Address: A static IP address for the server to ensure consistent access.
- Internet Connection: To download and install necessary packages.
Step 1: Update Your Ubuntu Server
Start by updating your Ubuntu server to ensure all software packages are current. This reduces the risk of conflicts or errors during installation.
- Open your terminal and log in to your Ubuntu server.
- Run the following command to update the package list:
sudo apt update
3. Upgrade the installed packages to their latest versions:
sudo apt upgrade -y
Step 2: Install Dependencies
Pi-hole requires several dependencies to function correctly. These include curl, unzip, and other essential tools.
- Install the necessary dependencies using the following command:
sudo apt install curl unzip -y
2. Ensure all dependencies are installed and updated by running:
sudo apt install -f
These commands will ensure your server is prepared for the Pi-hole installation.
Step 3: Download and Install Pi-hole
Pi-hole offers a streamlined installation script that makes the setup process easy.
- Download the Pi-hole installation script using
curl:
curl -sSL https://install.pi-hole.net -o pihole-install.sh
2. Run the installation script to begin the setup:
sudo bash pihole-install.sh
During the installation, you’ll be prompted to configure Pi-hole settings. The following sections will guide you through these configurations.
Step 4: Configure Pi-hole Settings
The Pi-hole installation script will guide you through several configuration options. Here’s what you’ll need to do:
- Choose an Upstream DNS Provider: Pi-hole needs an upstream DNS server to resolve non-blocked domains. You can choose from popular providers like Google, OpenDNS, or Cloudflare.
- Select Block Lists: Pi-hole comes with default block lists that cover a wide range of unwanted domains. You can use these or add your own custom lists later.
- Network Interface Selection: Choose the network interface Pi-hole should use. Typically, you should select
eth0, the default interface for most servers. - Static IP Address: Ensure your server has a static IP address. Pi-hole will use this IP to serve DNS requests. The installation script may prompt you to confirm or set a static IP.
- Admin Web Interface: Pi-hole offers a web-based interface for easy management. Enable this option to access and control Pi-hole through a web browser.
- Web Server Configuration: Pi-hole can set up a lightweight web server using
lighttpdif one is not already installed. Allow the installer to configure this for you. - Log Queries: Decide whether Pi-hole should log DNS queries. This helps monitor traffic and troubleshoot issues but may raise privacy concerns. You can enable or disable query logging as per your preference.
- Privacy Mode: Choose the level of privacy for logging. You can log everything, log without showing domains, or not log any queries.
After completing these steps, the installation will finalize, and Pi-hole will be set up on your server.
Step 5: Accessing the Pi-hole Admin Interface
Once installed, you can manage Pi-hole through its web-based admin interface.
- Open a web browser and navigate to:
http://<your_server_ip>/admin
Replace <your_server_ip> with the actual IP address of your Ubuntu server.
2. Log in using the password provided during installation. If you didn’t take note of it, you can retrieve it by running:
sudo pihole -a -p
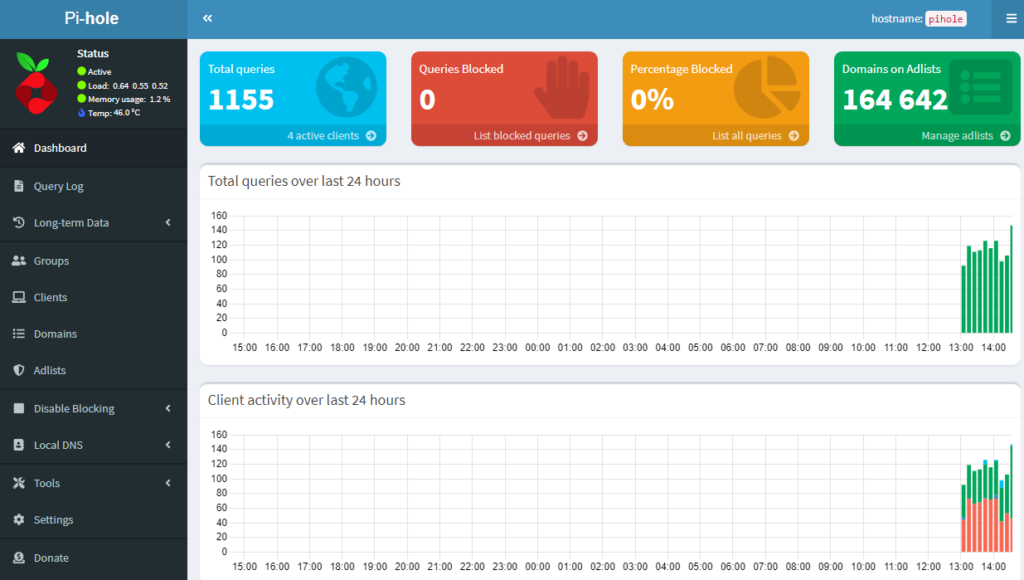
The admin interface allows you to view statistics, add or remove block lists, and adjust other settings.
Step 6: Configuring Devices to Use Pi-hole
To block ads and unwanted content, you need to point your devices’ DNS settings to your Pi-hole server.
- Router Configuration: The easiest method is to change the DNS server settings on your router to point to the Pi-hole server’s IP address. This ensures that all connected devices use Pi-hole.
- Individual Device Configuration: Alternatively, you can configure each device manually to use Pi-hole. Change the DNS server settings on each device to the IP address of your Pi-hole server.
Both methods will ensure that all DNS queries pass through Pi-hole, blocking ads and other unwanted content.
Step 7: Regular Maintenance and Updates
To keep Pi-hole running smoothly, it’s important to perform regular maintenance.
- Update Pi-hole: Update Pi-hole periodically to get the latest block lists and features. Run the following command to update:bashCopy code
pihole -up - Monitor Performance: Use the admin interface to monitor the performance and health of your Pi-hole server. This helps identify any issues or unwanted traffic.
- Add Custom Block Lists: As needed, you can add custom block lists to enhance the effectiveness of Pi-hole. Navigate to the “Adlists” section in the admin interface to add new lists.
- Whitelist Necessary Domains: If Pi-hole blocks a legitimate site, you can whitelist it through the admin interface. This allows the domain while keeping the rest of your block lists active.
- Backup Configuration: Regularly backup your Pi-hole configuration to avoid losing settings. Use the following command to backup:bashCopy code
pihole -a -t
Backups ensure you can restore your Pi-hole setup if needed.
Troubleshooting Common Issues
If you encounter issues with Pi-hole, here are some common troubleshooting tips:
- DNS Resolution Issues: If devices can’t access the internet, ensure they are pointing to the correct DNS server (your Pi-hole server).
- Admin Interface Inaccessible: If the admin interface isn’t loading, verify the server’s IP address and confirm that
lighttpdis running. - High CPU Usage: Pi-hole is generally lightweight, but if you notice high CPU usage, consider reducing query logging or optimizing your block lists.
Conclusion
Installing Pi-hole on an Ubuntu server is straightforward and provides powerful network-wide ad blocking. By following the steps outlined in this guide, you can effectively set up and manage Pi-hole, ensuring a cleaner and faster browsing experience for all devices on your network. Regular updates and maintenance will keep your Pi-hole server running smoothly, providing long-term benefits.

Thank you for reading the article! If you found the information useful, you can donate using the buttons below:
Donate ☕️ with PayPalDonate 💳 with Revolut


